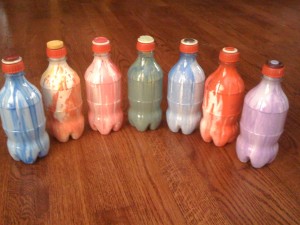
 Let’s face it… instruments are expensive and as a music therapist I have witnessed the many trials and tribulations my instruments go through on a daily basis. Wear and tear is inevitable and there is no avoiding it. However, there is a CHEAP and EASY way to design your own shakers that will look and sound great, and if they get a little beat up, it’s no big deal to send them to the recycling!
In addition, this is a great activity to do with children. I advise using non-toxic paint and an adult supervisor, as it can get messy, but I guarantee your child will have a blast watching their creation evolve. The best part is, after you are finished, you have your own shakers that are one of a kind! So get ready to create, shake and have some fun!
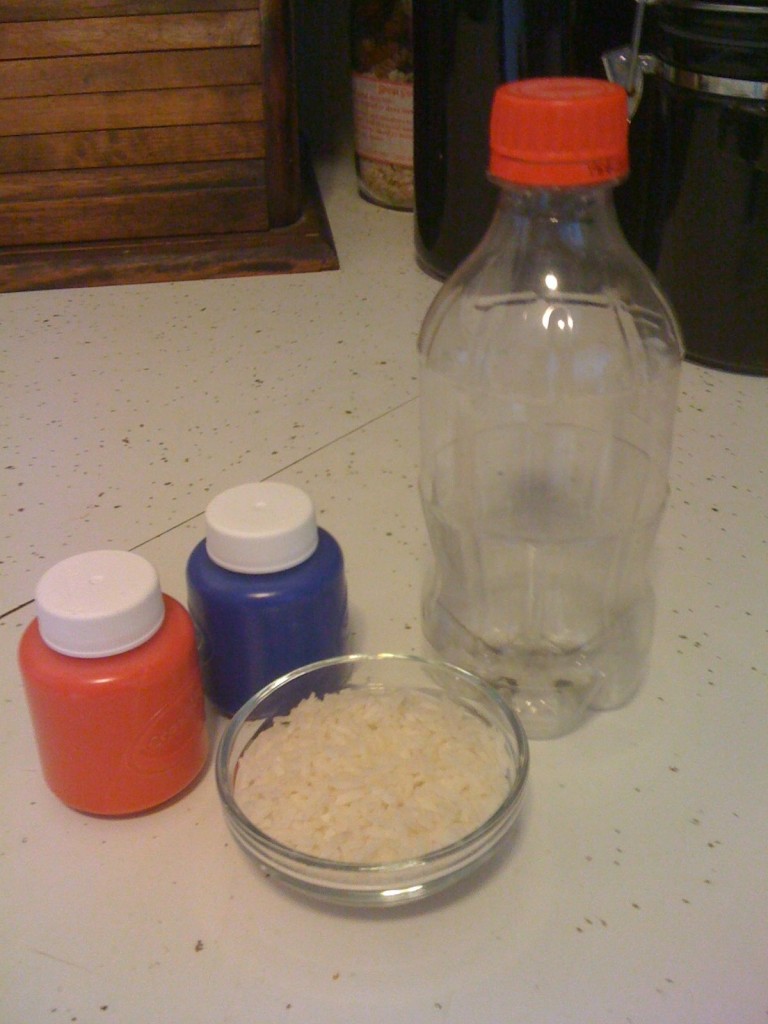
12 oz soda bottles
Rice, beans, etc.
Non-toxic paint
Hot glue gun (optional)
The Steps:
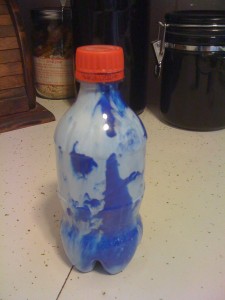
1. Color- After you have cleaned and dried your plastic bottle, choose the paint colors you want and squeeze the paint into the bottle. The amount you need will depend on the thickness of the paint.
2. Shake it, shake it, shake it!– Replace the cap and shake it like crazy until you have coated the entire inside of the bottle.
3. Dry– It will take a while for your bottle to dry, depending on the type of paint you use. I like to sit mine upside down on a piece of cardboard so that the additional paint drips out the top.
4. Fill– once your bottle is completely dry fill it will beans, rice, corn kernels or any other filling of your choosing.
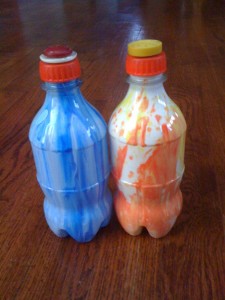
5. Seal– Place some hot glue around the inside of the bottle cap and replace the cap. The glue will dry and hold the cap in place to prevent future spills. I glued buttons to the top of my shakers just to make them a little more fun!
Now you are ready to shake and make some music! Wasn’t that easy?!
